분류 전체보기

윈도우에서 Cuda 삭제 후 재설치 방법
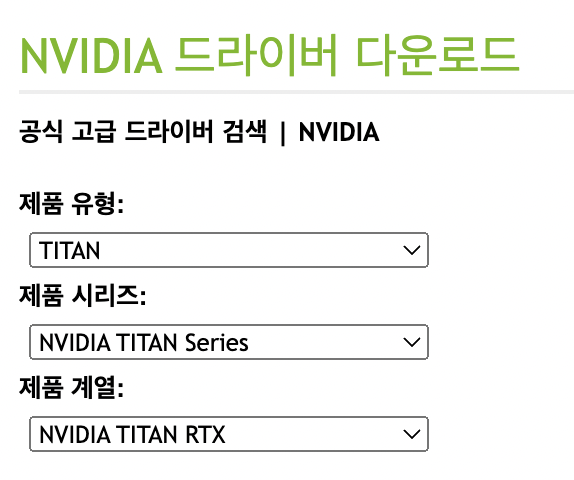
⭐ cuda 충돌 문제가 있어서 본 포스팅에서는 cuda를 완전히 삭제하고 재설치 해 보겠다. 1.NVIDIA 관련 프로그램 삭제 프로그램 추가/제거에 들어가서 NVIDIA 관련 모두 제거한다. 2. CUDA / cuDNN 설치 1) 드라이버 확인 장치 관리자> 디스플레이 어댑터 2) NVIDIA 드라이버 다운 다운로드 링크 https://www.nvidia.co.kr/Download/Find.aspx?lang=kr 3) CUDA TOOL KIT 다운 10.2 버전 아래 링크에서 툴킷을 다운로드 받는다. https://developer.nvidia.com/cuda-10.2-download-archive?target_os=Windows&target_arch=x86_64 4) CUDNN 설치 CUDA ver..
![[Object Detection] 윈도우 환경에서 Detectron2 실행하기](https://img1.daumcdn.net/thumb/R750x0/?scode=mtistory2&fname=https%3A%2F%2Fblog.kakaocdn.net%2Fdn%2FvU8NP%2FbtrIh40BAbn%2FELgyK6NNZhJrweimW1LXD1%2Fimg.png)
[Object Detection] 윈도우 환경에서 Detectron2 실행하기
⭐ 윈도우에서 anaconda를 이용하여 Detectron2를 실행해보자! Detectron2는 Facebook AI Research에서 개발한 object detection 알고리즘이다. 활용할 깃허브 코드는 다음과 같다. https://github.com/DGMaxime/detectron2-windows GitHub - DGMaxime/detectron2-windows: Detectron2 is FAIR's next-generation platform for object detection and segmentation. Detectron2 is FAIR's next-generation platform for object detection and segmentation. - GitHub - DGMaxi..
![[Object Detection] Ubuntu에서 YOLOv5 실행하기](https://img1.daumcdn.net/thumb/R750x0/?scode=mtistory2&fname=https%3A%2F%2Fblog.kakaocdn.net%2Fdn%2FbxT202%2FbtrIdY1neeX%2F1xZYK11dmHV013Js9G4obk%2Fimg.png)
[Object Detection] Ubuntu에서 YOLOv5 실행하기
⭐ 본 포스팅에서는 ubuntu 환경에서 yolov5 환경 설정하고 돌려보겠습니다! 실습은 아래의 코드로 진행됩니다. https://github.com/ultralytics/yolov5 GitHub - ultralytics/yolov5: YOLOv5 🚀 in PyTorch > ONNX > CoreML > TFLite YOLOv5 🚀 in PyTorch > ONNX > CoreML > TFLite. Contribute to ultralytics/yolov5 development by creating an account on GitHub. github.com 0. 환경 ubuntu18.04 에서 진행했으며, anaconda를 이용합니다. 1. conda yolov5 가상 환경 생성 터미널을 열어서 가상환경을..
![[Object Detection + Tracking] YOLOv4와 deepsort로 tracking 실습하기](https://img1.daumcdn.net/thumb/R750x0/?scode=mtistory2&fname=https%3A%2F%2Fblog.kakaocdn.net%2Fdn%2FNsUFN%2FbtrHe39Rhkl%2Fkwu7GoYyUUZN8KkFDZwEO1%2Fimg.png)
[Object Detection + Tracking] YOLOv4와 deepsort로 tracking 실습하기
⭐ yolov5-deepsort-osnet을 실행했었는데, 그 repository는 2022년 CVPR에 갓 나온 reid 방식인 strongSORT로 바뀌어서 Deepsort와 yolo가 함께 구현된 다른 github repo 실습을 ubuntu에서 진행했다. https://github.com/theAIGuysCode/yolov4-deepsort GitHub - theAIGuysCode/yolov4-deepsort: Object tracking implemented with YOLOv4, DeepSort, and TensorFlow. Object tracking implemented with YOLOv4, DeepSort, and TensorFlow. - GitHub - theAIGuysCode/yol..